
How to Connect a Local R Project to GitHub from a Mac
It’s fairly straightforward to set up a GitHub connection when creating a new R project.
Sometimes, however, you end up with a repo that is only stored locally. Maybe you received a project from someone else who doesn’t use GitHub, or maybe you’re having an off day and simply forgot to start out with a GitHub connection.
Either way, you can easily copy this repo into GitHub and set up a connection. This step-by-step guide will show you how.
1. Download the GitHub for Mac app
First, head to the GitHub for Mac webpage: http://mac.github.com/
You should see the following screen:
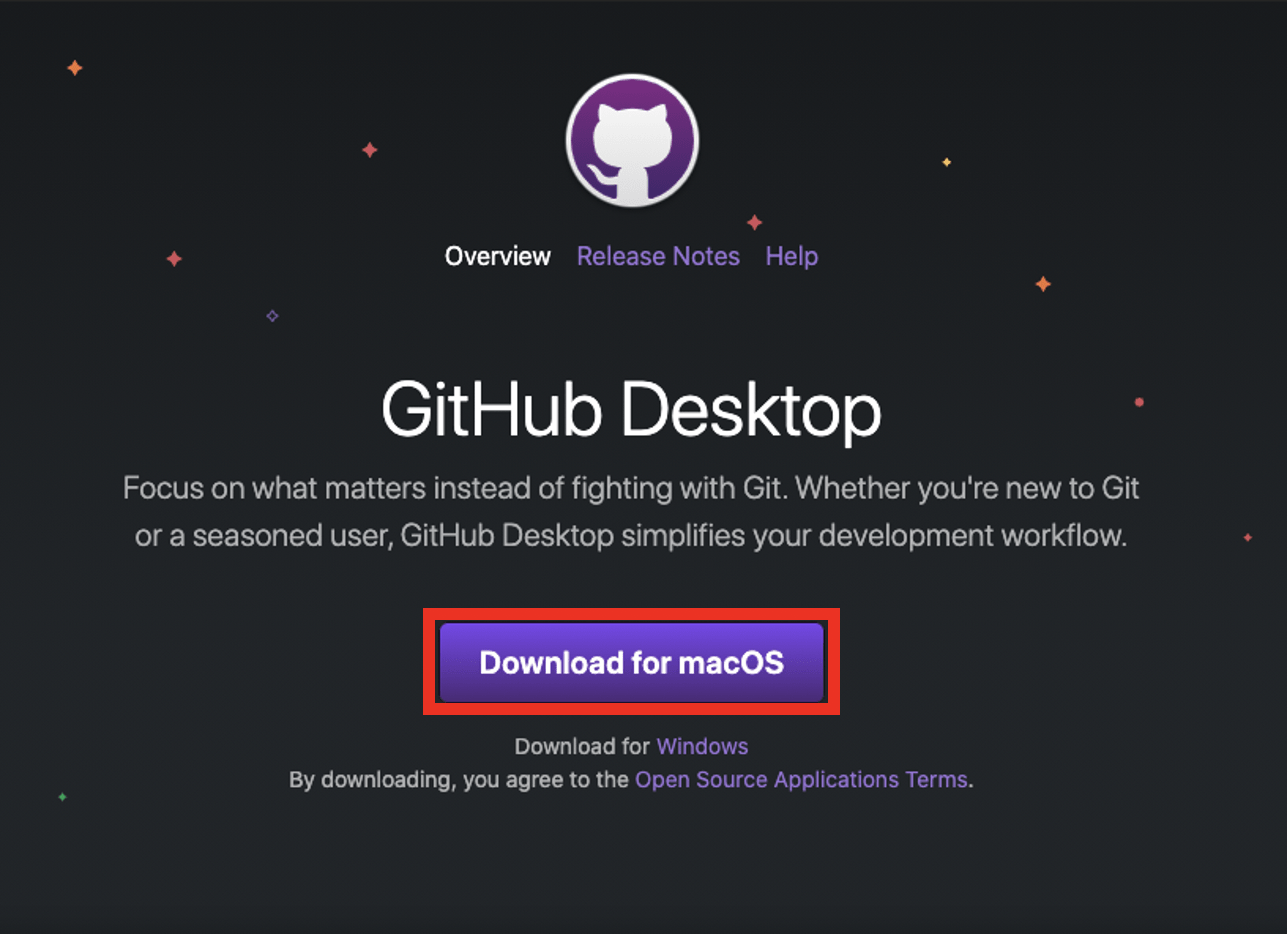
Click the purple “Download for macOS” button in the middle of the screen. A zip file should immediately start downloading. Once that download is complete, double click the zip file. GitHub Desktop should appear in your downloads folder as shown below:

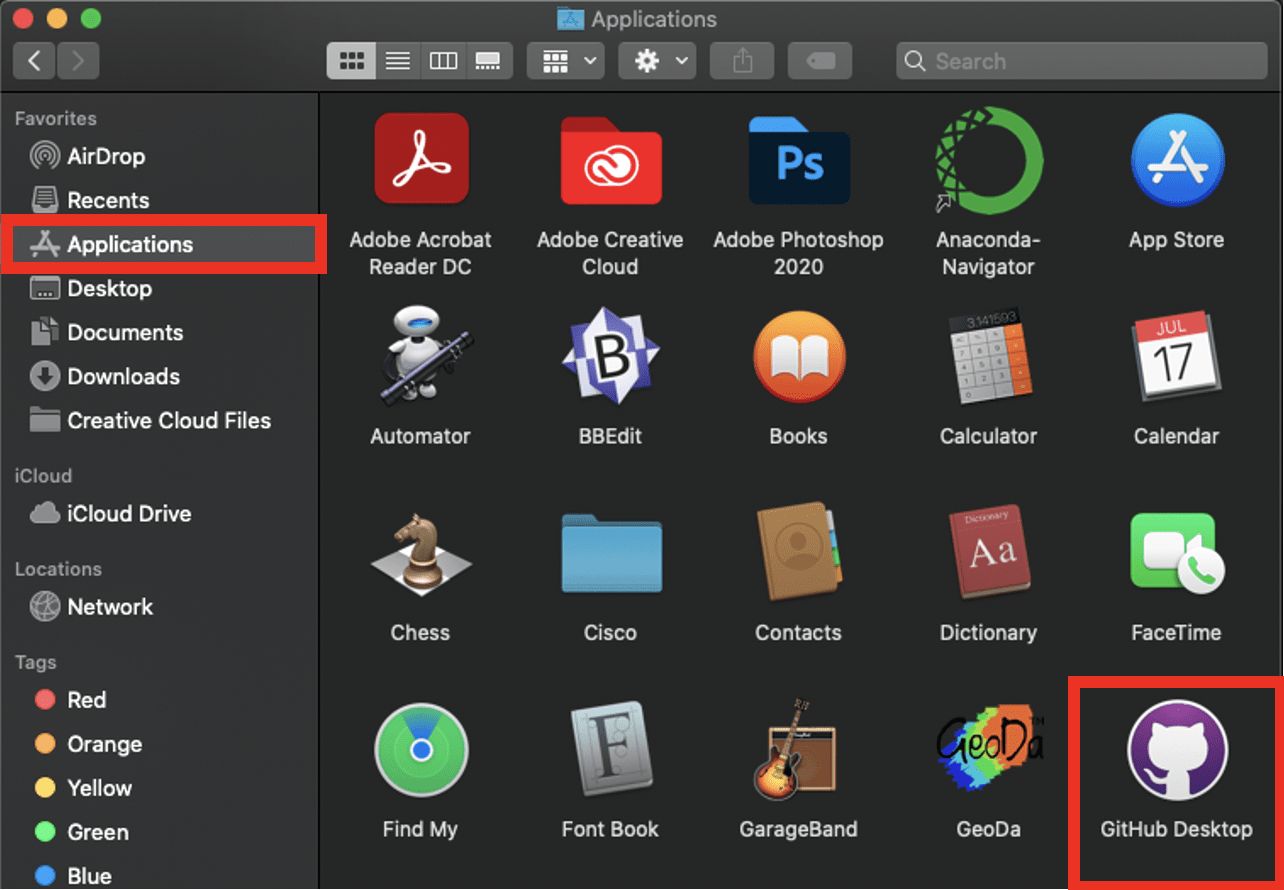
Drag GitHub Desktop from the downloads folder into “Applications,” which is highlighted below on the left. You should see a purple GitHub Desktop icon appear (see bottom right):
2. Open GitHub Desktop and make the Connection
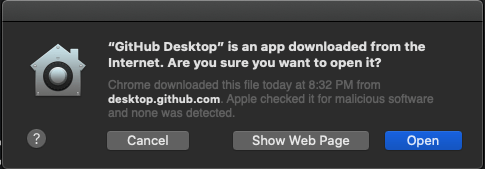
Double click on the GitHub Desktop icon. You may receive a warning stating that “GitHub Desktop” is an app downloaded from the Internet and asking if you want to open it. If you see this warning, select “Open”:
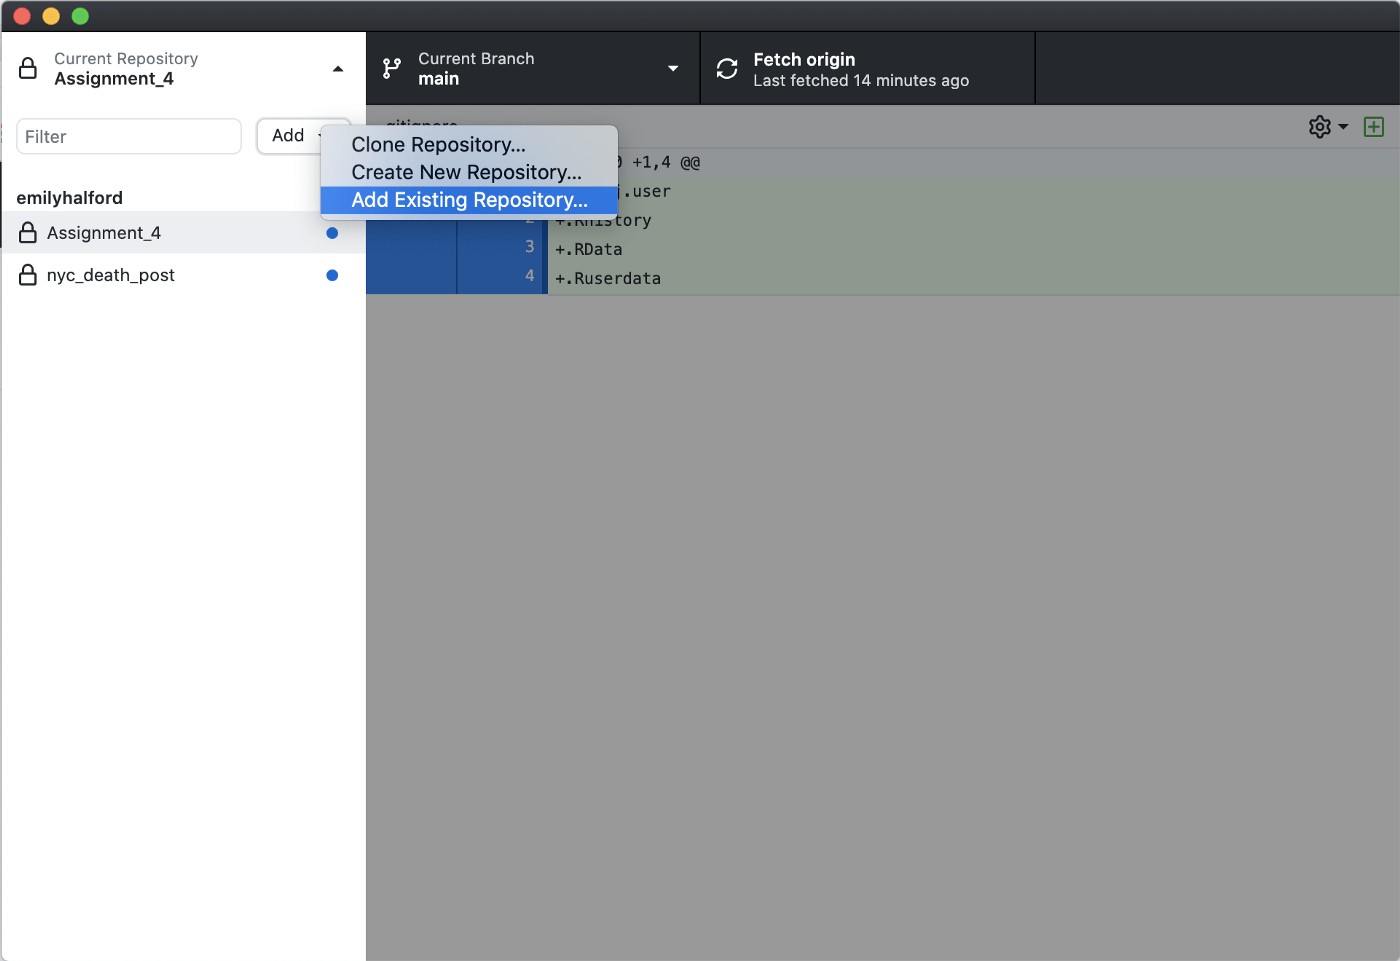
Once GitHub Desktop is open, select “Add Existing Repository.” Your screen may look somewhat different from this if it is your first time ever opening GitHub Desktop, but there should still be an “Add Existing Repository” option.
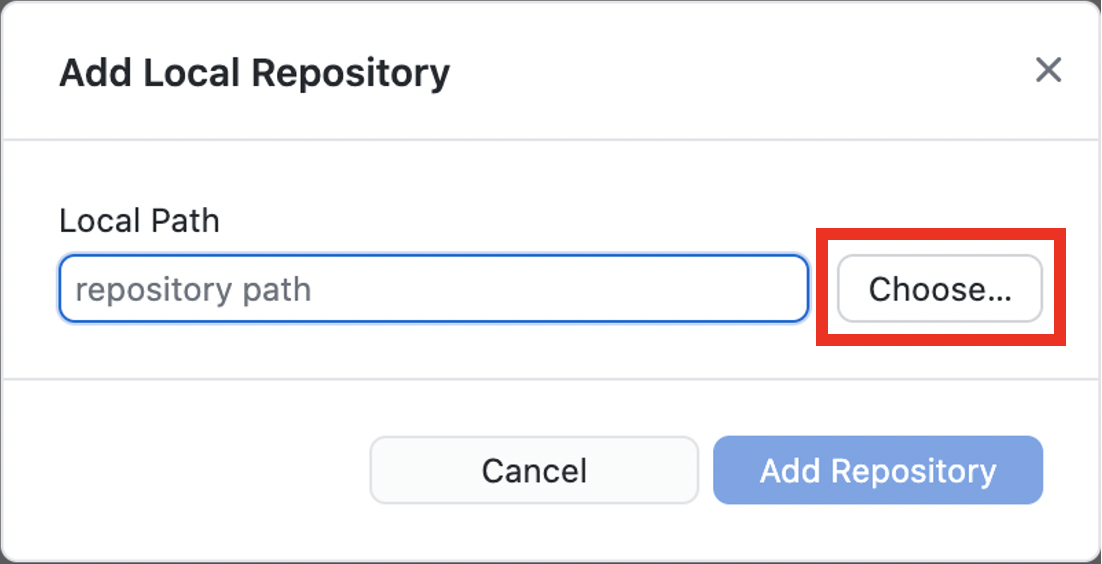
The following window should appear. Click the “Choose…” button and navigate to the folder that contains your R project.
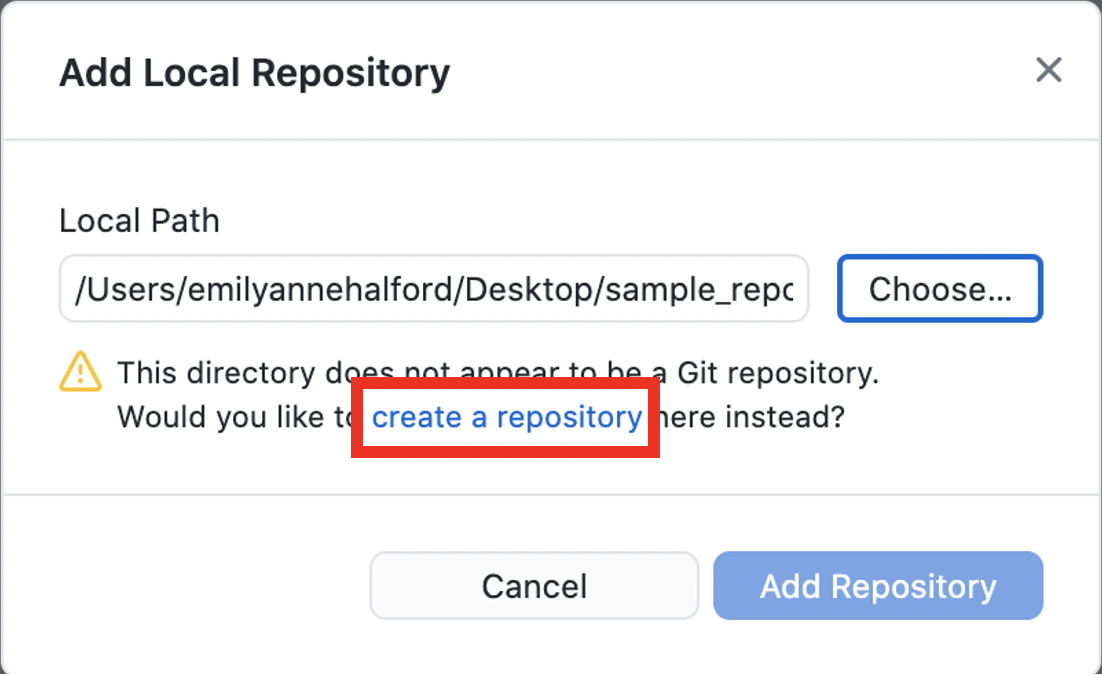
Once you’ve selected the file that contains your local project, you will get the following notice: “This directory does not appear to be a Git repository. Would you like to create a repository here instead?” Click the blue “create a repository” text.
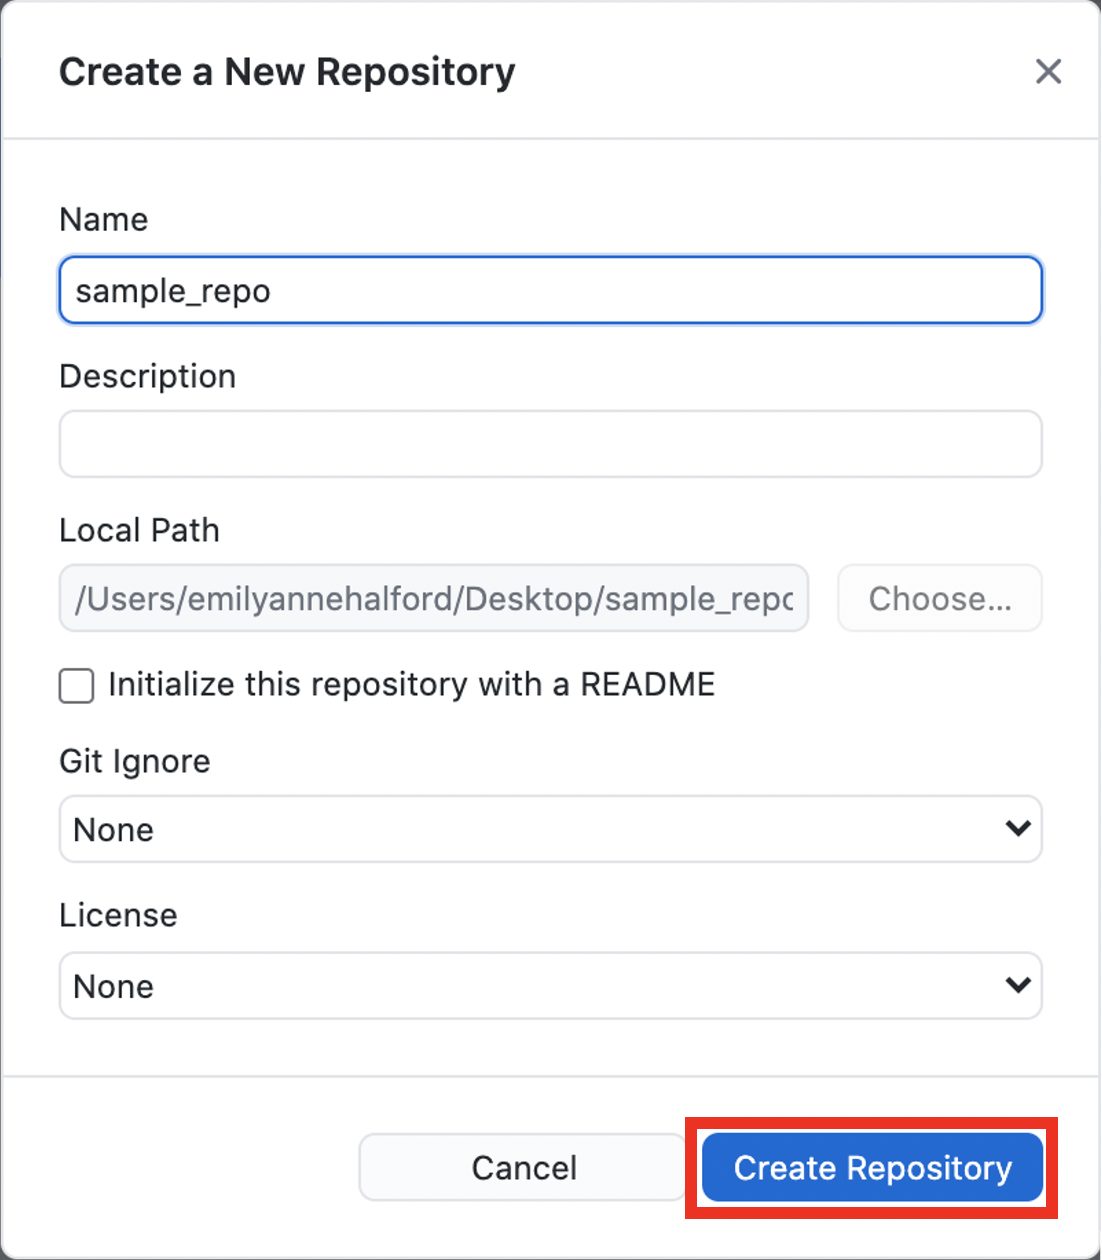
The following window should appear. Simply click the “Create Repository” button in the bottom right.
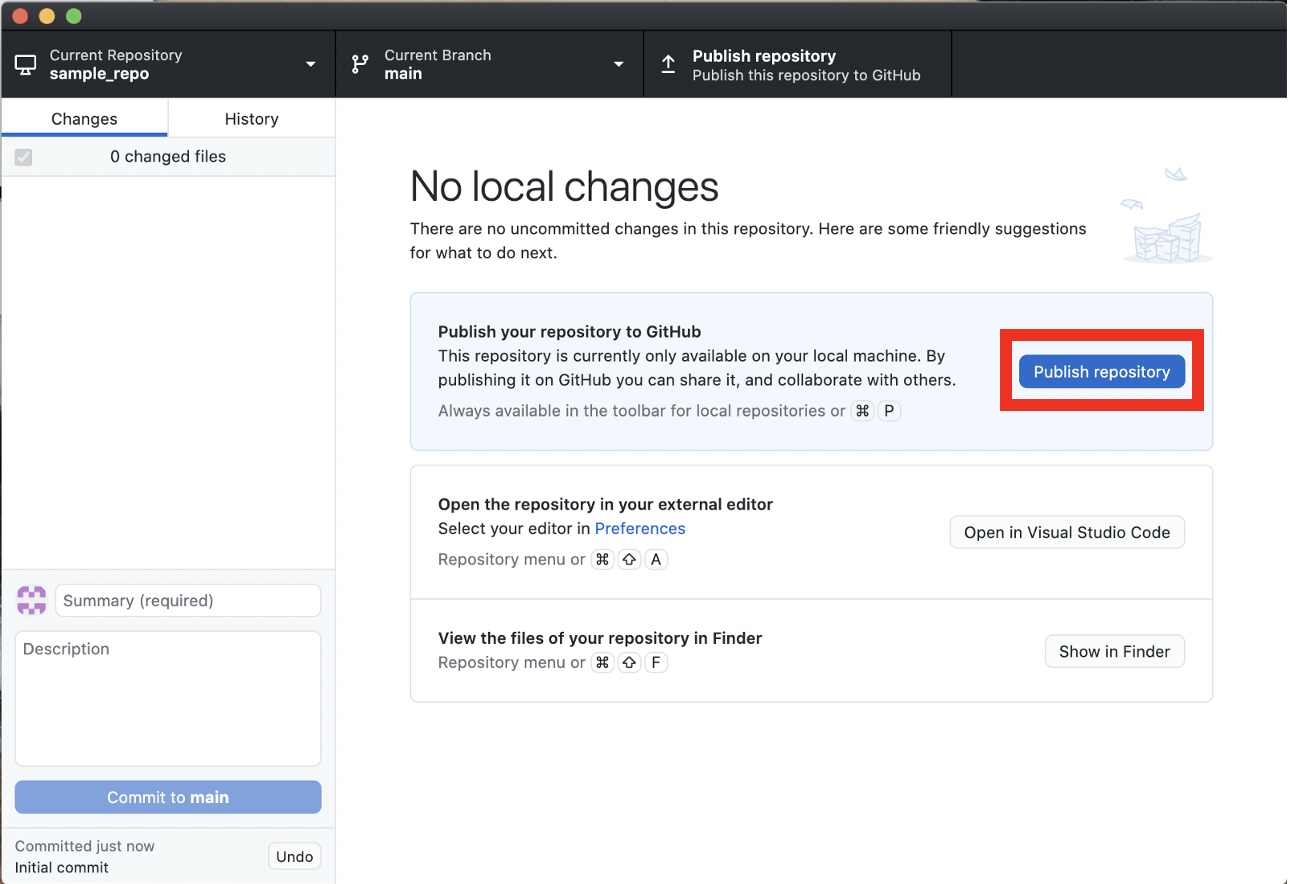
When the following screen appears, click “Publish repository.”
The following window will pop up, and you can simply click “Publish Repository.” If you wish to make your repo public, you can uncheck the box for “Keep this code private.”
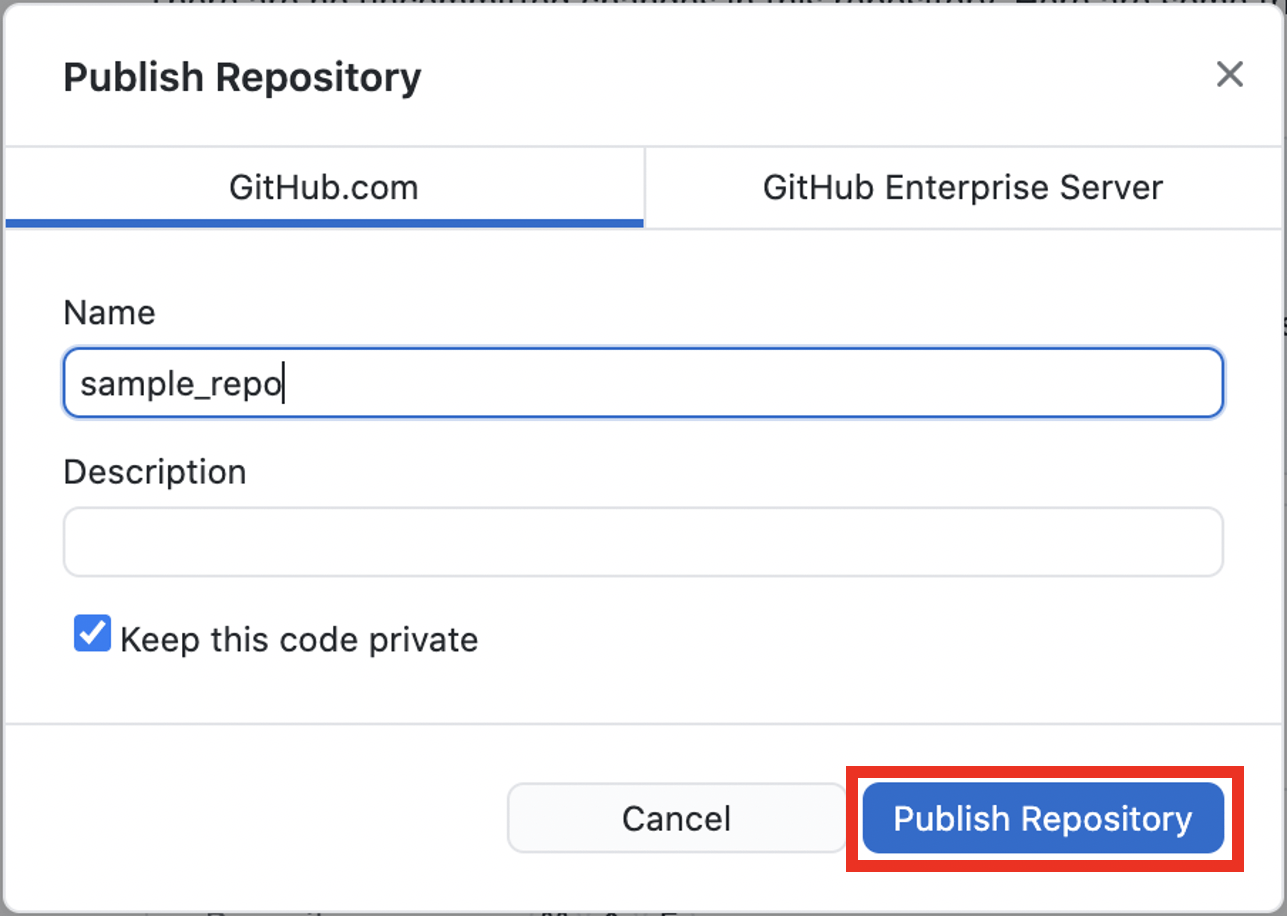
Depending on the size of your project, it may take a few minutes to publish. You should be all set once the project has pushed to GitHub!
3. Verify that the Connection was Made
You can make sure that the connection was successfully established by logging into your GitHub account and verifying that you see your new repo under “Repositories.”
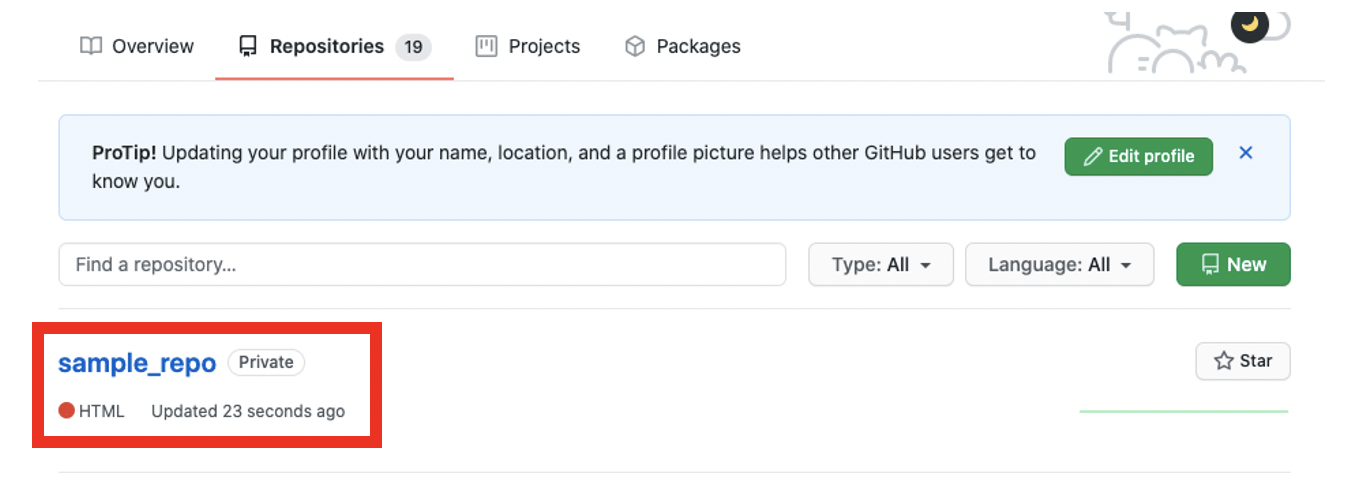
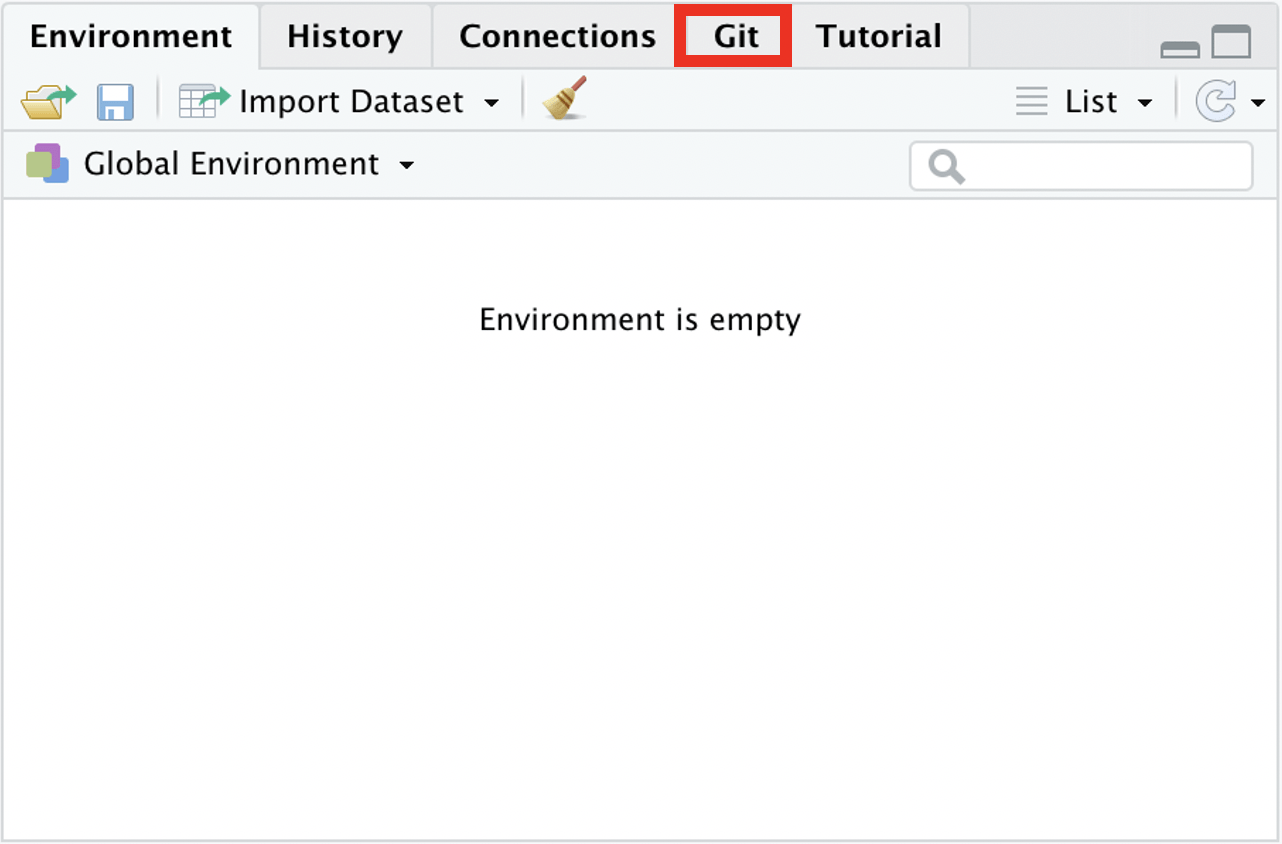
Additionally, when your project is open in RStudio you should now see the “Git” tab where you can push and pull any updates.
And that’s it! Typically, you will want to stick with the standard workflow of creating a GitHub repo as soon as you create your R project. This way, you will be able to take full advantage of GitHub’s version control capabilities. Your code will always be backed up, and you can access earlier versions of your work later on. When it is not possible to follow this workflow, however, GitHub Desktop provides a convenient way to connect an existing local project to a GitHub repo.
Trending
-
1 How Does SaaS Differ From IaaS And PaaS?
Fabrice Beaux -
2 Single Page Applications vs Multi-Page Applications
Fabrice Beaux -
3 Top 7 Effective Strategies for Multi-Language Website Development
Fabrice Beaux -
4 Boost Engagement to Infinity and Beyond: Unleashing AI-Driven Support
Anas Bouargane -
5 The Cheapest And Most Beautiful Stickers in CS2
Daniel Hall


Comments